
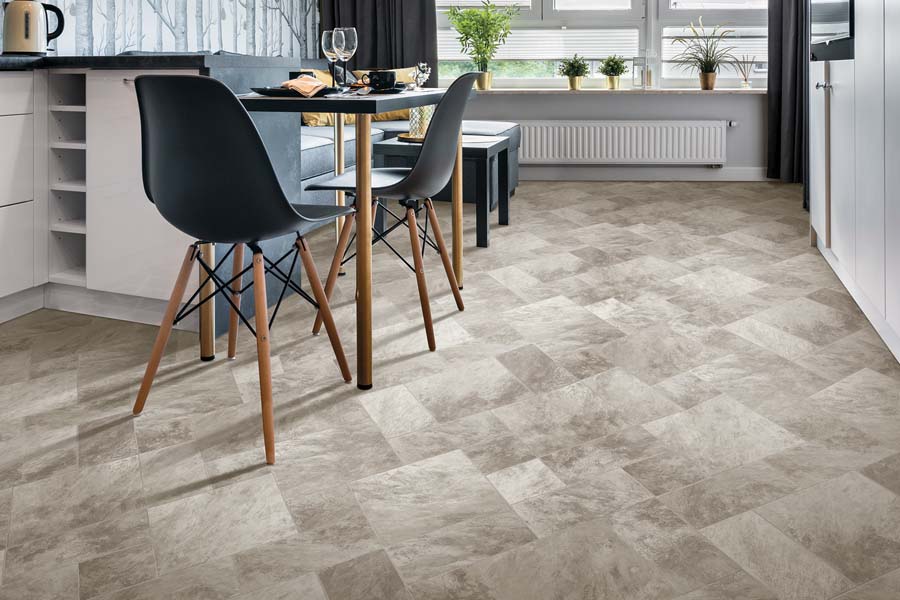
Whether you're looking to update your flooring or dealing with a specific issue, knowing how to remove and re-install floating luxury vinyl plank floors can be a valuable skill. Learn how to remove and then reinstall your luxury vinyl plank floors in under 10 steps.?
Steps to remove and reinstall LVP via the Floating Floor Method
- Step 1: Gather Your Tools
- Step 2: Remove Baseboards and Molding
- Step 3: Locate the Starting Point
- Step 4: Lift and Remove Planks
- Step 5: Inspect and Prepare Subfloor
- Step 6: Re-Installation
- Step 7: Replace Baseboards and Molding
Step 1: Gather Your Tools
Before you start the removal process, make sure you have the necessary tools. This typically includes a pry bar, a utility knife, pliers, a rubber mallet, and, if needed, a heat gun for stubborn adhesive. Having these tools on hand will make the process smoother and help prevent any damage to the existing flooring.
Step 2: Remove Baseboards and Molding
Start by removing baseboards and molding around the edges of the room. This step is crucial as it allows the planks to be removed more easily, and it also prevents damage to the moldings during the process.
Step 3: Locate the Starting Point
Identify the starting point of the installation. This is usually where the first plank was laid during the initial installation. If you're unsure, look for a seam in the flooring or consult the original installation guidelines.
Step 4: Lift and Remove Planks
Using a pry bar, gently lift the edge of the first plank at the starting point. Once you have enough space, you can use your hands to continue lifting and removing the planks. Work systematically across the room, being careful not to damage the planks as you go.
Step 5: Inspect and Prepare Subfloor
Inspect the subfloor for any damage or debris. Clean the subfloor thoroughly and make any necessary repairs. This step is crucial for ensuring a smooth re-installation and preventing issues with the new flooring.
Step 6: Re-Installation
Once the subfloor is ready, it's time to re-install the luxury vinyl planks. Start at the same point you began the removal process. Click the planks together following the manufacturer's guidelines. Use a rubber mallet to gently tap the planks into place, ensuring a snug fit.
Step 7: Replace Baseboards and Molding
After the planks are re-installed, replace the baseboards and molding. This step provides a finished look and covers any gaps between the flooring and the walls.
Contact the pros for more information
Removing and re-installing floating luxury vinyl plank floors can breathe new life into your living space. Whether you're updating your home or addressing a specific issue, following these steps will help you achieve professional-looking results.For a wide selection of luxury vinyl plank flooring in Bellevue, Auburn, and Lynnwood, Washington, Nielsen Bros Flooring has you covered. Our flooring store serves the areas of Bellevue, Redmond, Kirkland, Auburn, Renton, Tacoma, Lynnwood, Edmonds, and Bothell. Visit one of our showrooms or shop online to explore our extensive range of flooring options and find the perfect solution for your home.


